
I have a DSLR that has been modified for Infrared Photography. Digital cameras usually have filters that will block out light that is outside of the visible spectrum. Without these filters, though we cant see this light, the camera’s sensor will still respond to it. If you have an IR remote you can test this out yourself by viewing the emitter end through the camera on your phone and holding down a button on the remote.
The world looks different when you biew the IR or UV light reactions with objects. There are elements of an object that may be invisible until you view them in another spectrum, and elements that might disappear all together. I wanted to explore this more, which is why I have this modified camera. There are a few things that I’ve learned along the way. Once a camera is modified for IR shooting, it’s not very good to use for regular photography. You won’t want to take family photos or vacation pictures with such a modified camera. The viewfinder on the DSLR also becomes useless for some shooting situations; since our eyes cannot see IR light, when some filters are applied to the camera, the view through the viewfinder looks black. Instead, we must enable a live view on the camera’s display to preview the image.
The IR blocking filter being removed from the camera isn’t the only adjustment that needs to be done. Better results come from also adding a filter to the lens that blocks some of the visible colors of light. Post-processing of the photo will be necessary.
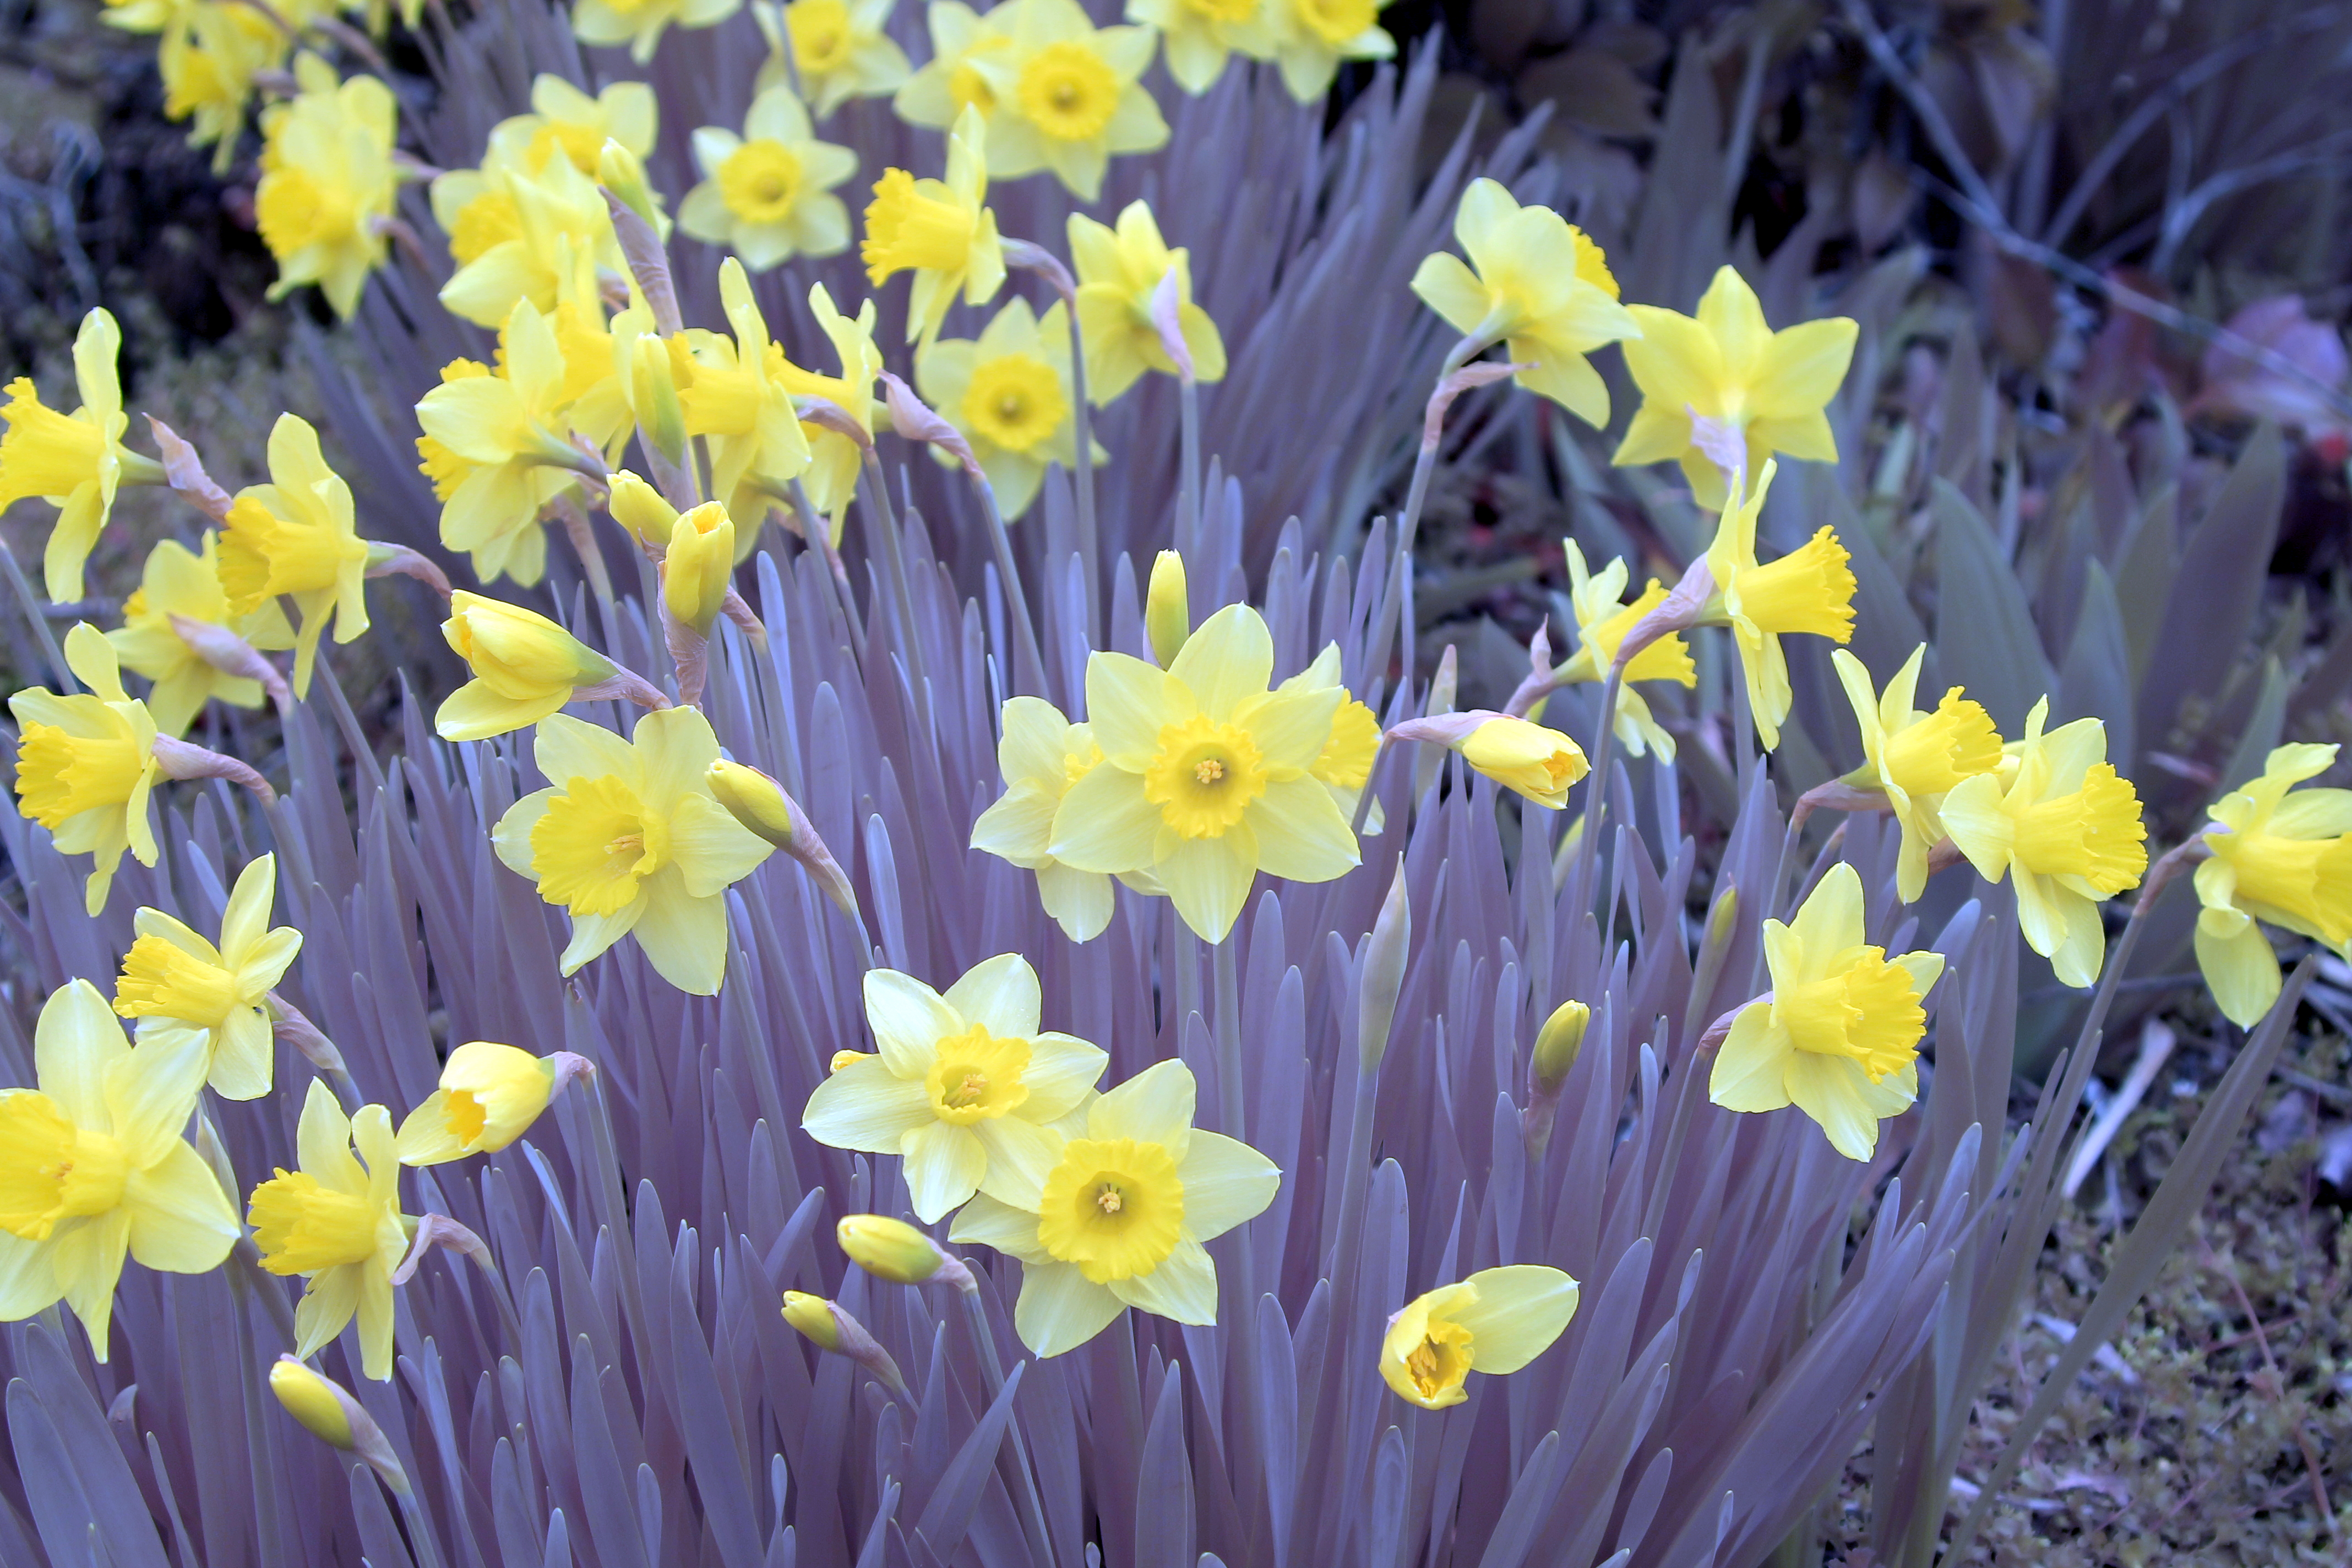
I’ve been wanting to take a photograph with the camera for the last week. But obligations to others and my work schedule preventing me from being available for some of the prime hours of the day where the sun would be where I would like for it to be. Today, between meetings, I had a chance to run outside, snap a couple of photographs of a flower, and run back inside. The image that shows at the top of this post is one of the results. That image was taken with a filter on the lens that only lets IR light pass. If I remove the filter, I end up with a picture like the following. Removing the filter and allowing visible light to come through, I get a photo that looks partially desaturated.Though color is present, the influence of the IR on the photo is discernable.
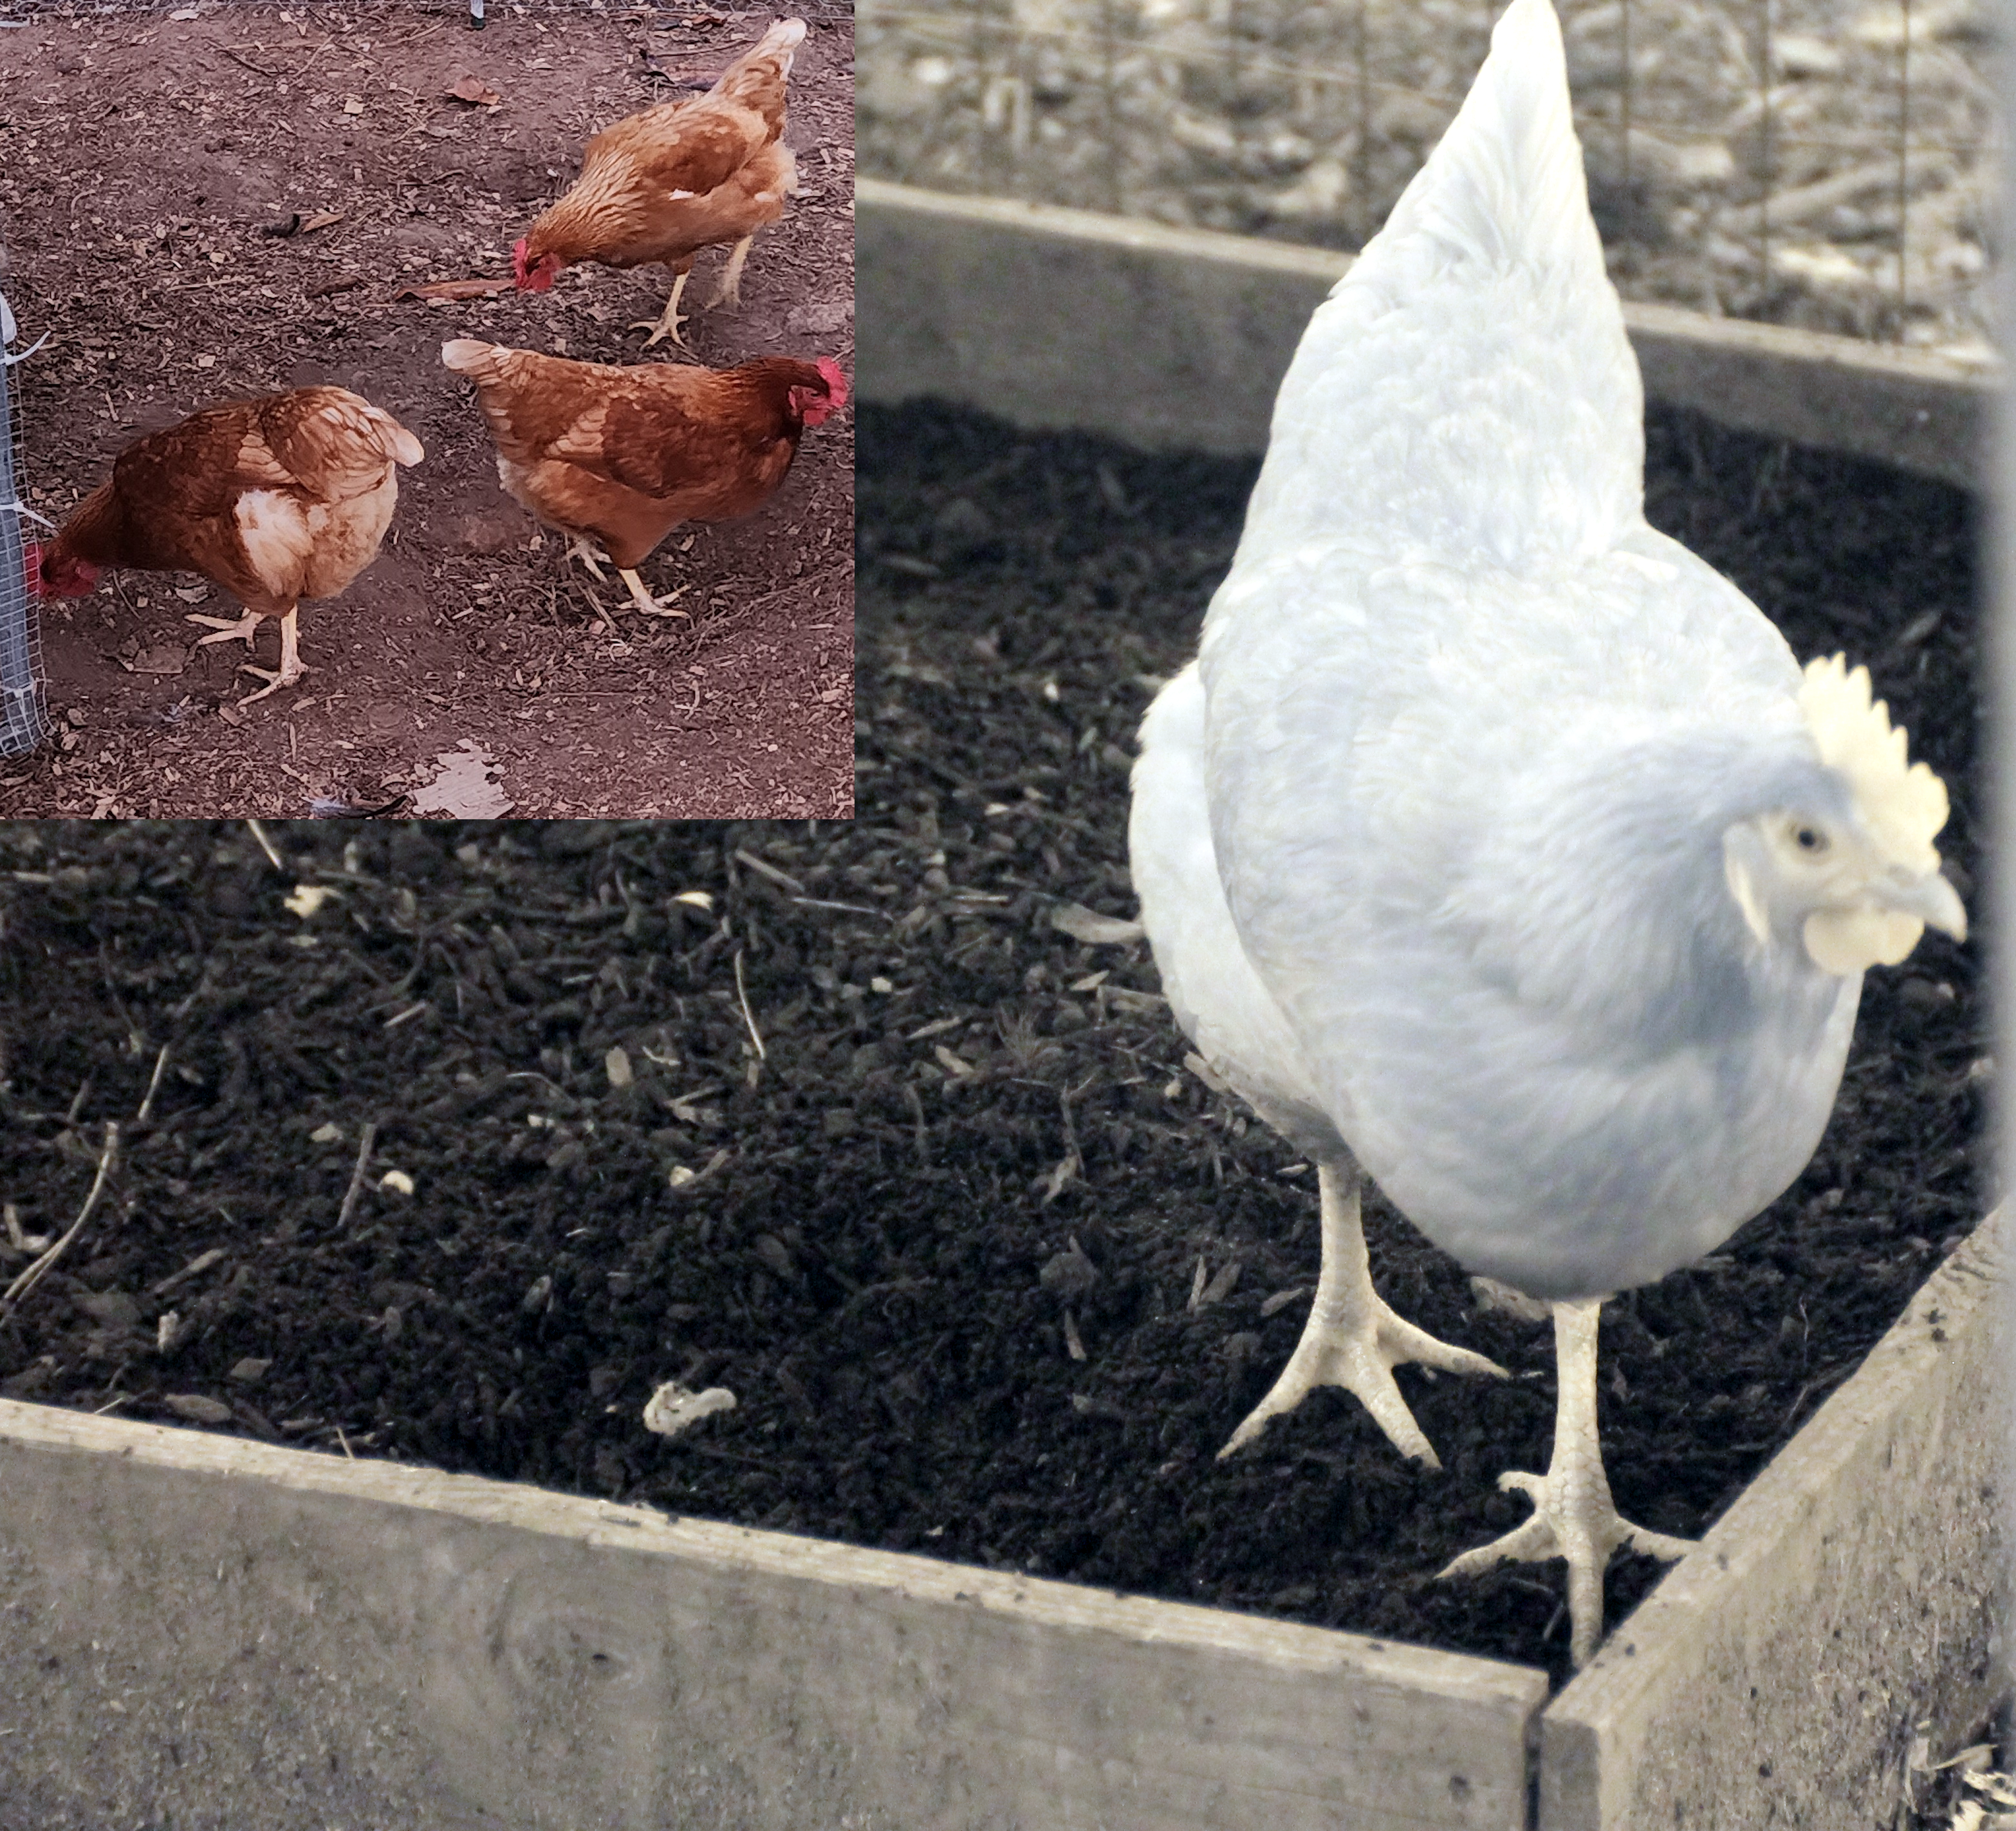
While out at “the farm” I took some pictures of some chickens. As appears to be the case with many things that are red, in infrared they appear closer to white. The chicken’s comb’s look especially white.
I’ll be taking more occasional photographs using this camera. When I do, you’ll generally be able to find them on my Instagram page.
This a lot more for me to learn. I hope to have some interesting shows to post.
Posts may contain products with affiliate links. When you make purchases using these links, we receive a small commission at no extra cost to you. Thank you for your support.
Mastodon: @j2inet@masto.ai
Instagram: @j2inet
Facebook: @j2inet
YouTube: @j2inet
Telegram: j2inet
Twitter: @j2inet

What a wonderful journey you are about to begin. I love my infrared camera. Have fun.