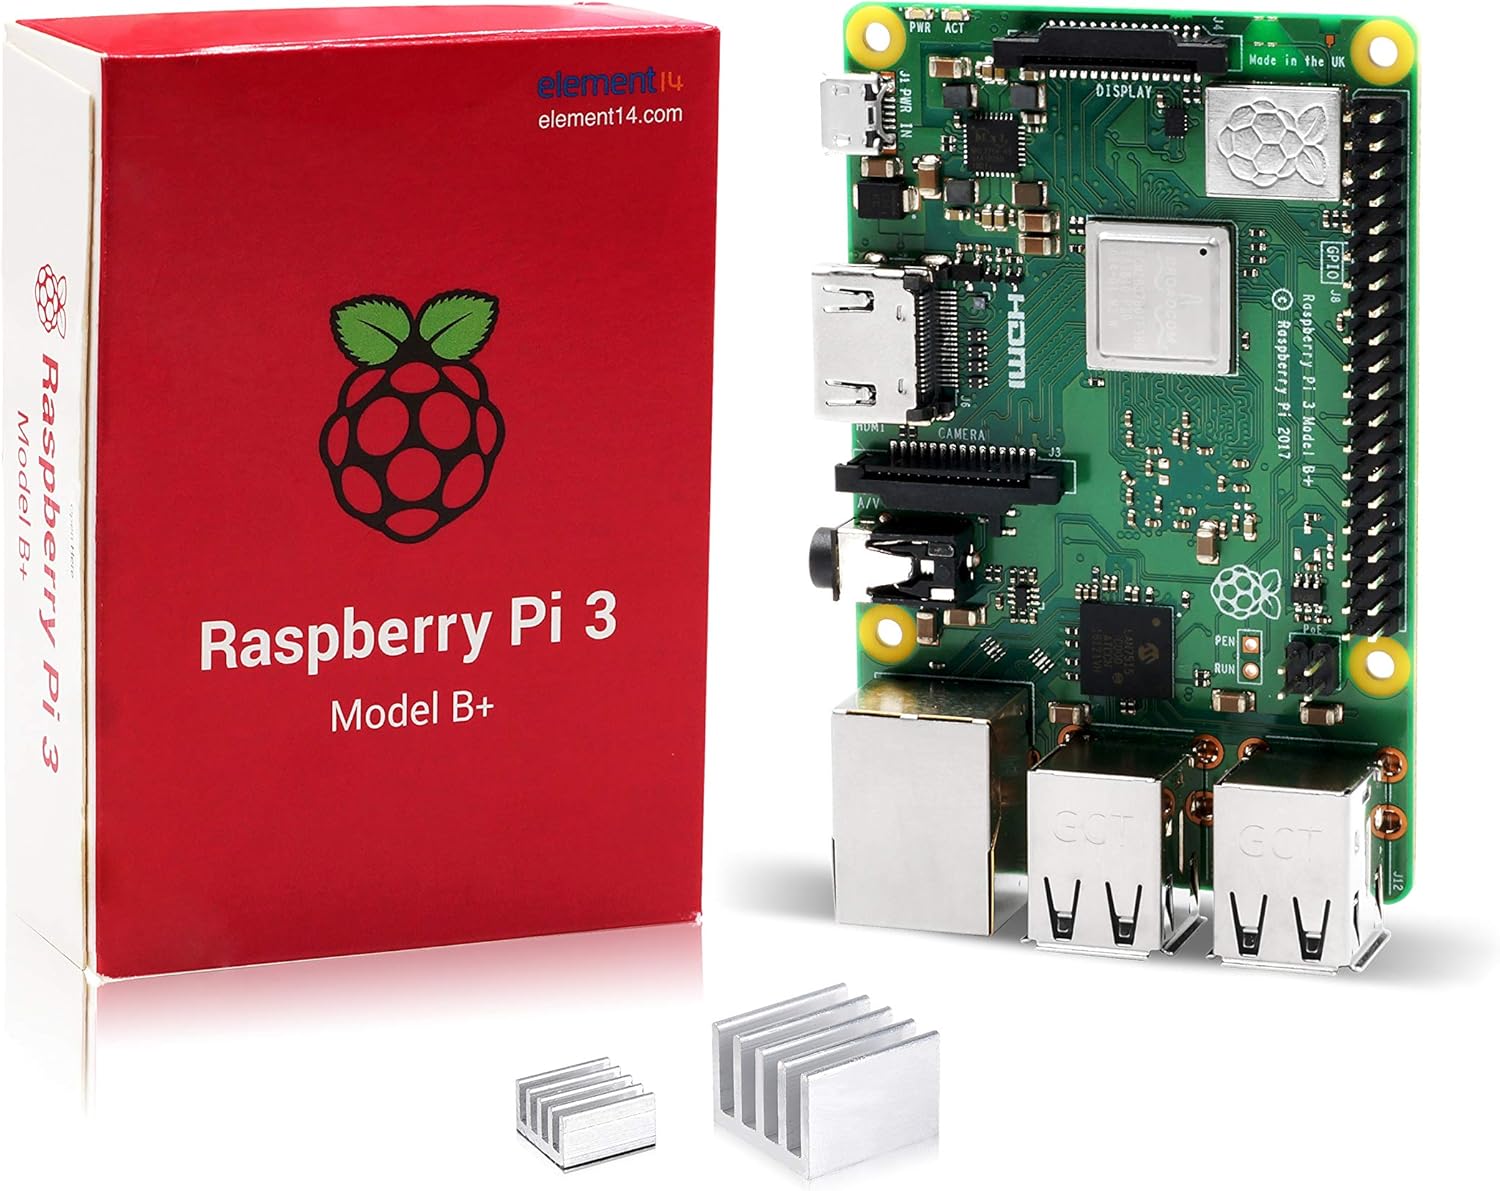
The Raspberry Pi has a few more power options than what one might gather from a quick glance. With the exception of the computer modules (which will get no further mention here) the Pis have a USB port for providing power. The Pi-4 has a USB-C port while the other units use micro-USB. In most cases having a 5-volt power supply with a the appropriate USB interface is sufficient. Using the USB interface, the Pi can be powered through a phone charger. This includes portable chargers, which might be used if the Pi needs to be placed where outlets are not available or if they must be movable. The USB port isn’t the only way to power the Pi though.
Another way of powering the Pi is through the 40-pin connector. There are pins labeled 5V and GND. these pins are often used as a voltage output. But these pins can also be used as a voltage input. Applying appropriate voltage to these pines will power the Pi on. In addition to applying 5-volts directly, there are also Pi-hats made for interfacing to these pins. On the Pi-4 and Pi-3, just behind the Ethernet connector, there are 4 pins. These pins connect to the unused connections in the Ethernet jack. With a Power over Ethernet (PoE) hat, voltage supplied over these pins can be passed through a voltage regulator and then fed into the Pi.
To use this there are a few conditions that must be met. If you are considering this this solution then you will undoubtedly be using the Pi with a wired network connection. You also need a means of injecting power into the network. Some routers have this functionality build in. For routers that do not, there are various forms of PoE power injectors. With this solution a headless Pi only needs one cable for providing a network connection and a the power. Such hats are available in a number of form-factors. My preference is towards the one of the minimalist PoE adapters.
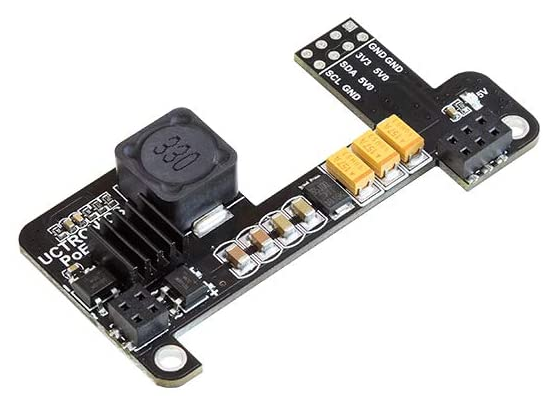
This adapter leaves many of the other pins open. If cooling is needed, the official Raspberry Pi PoE hat also has a fan.

If you have a Pi that doesn’t support PoE, you are not out of luck! You can still take advantage of it with adapters for extracting power from the extra lines and routing it to the USB input on your Pi.

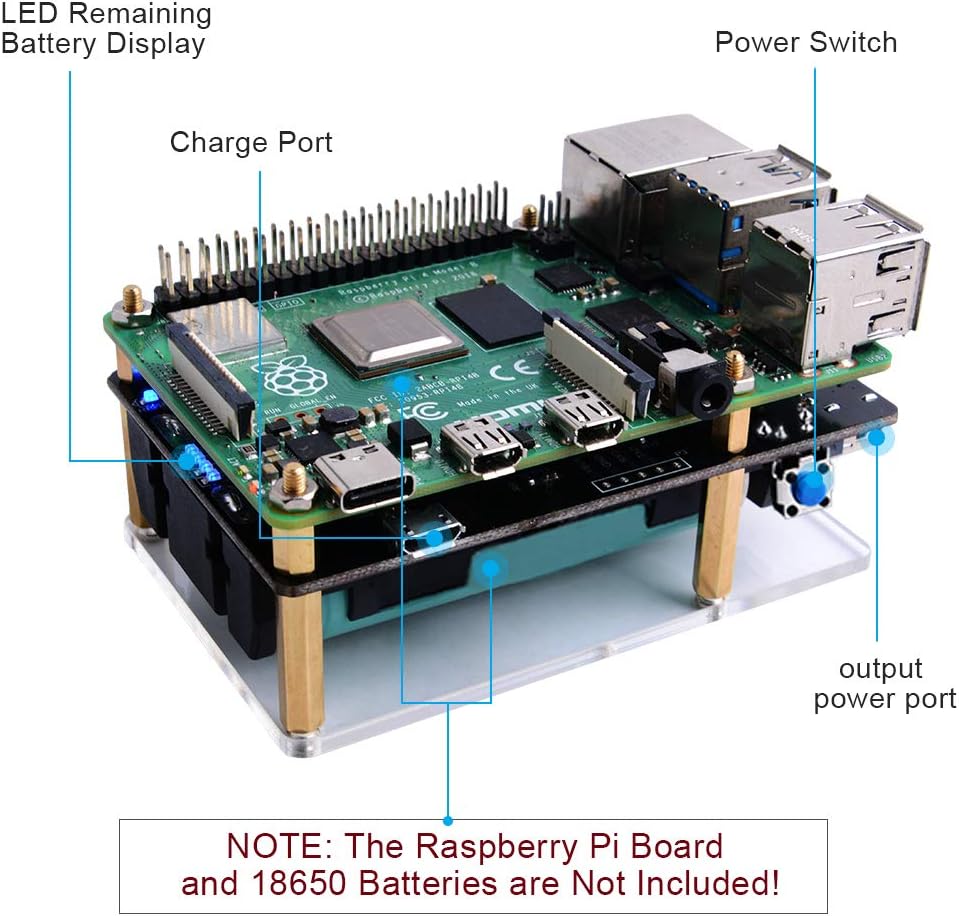
Another way of powering a Pi is with batteries. While it is possible to take consumer batteries (AA or AAA batteries) and power a Pi with those, I would not suggest it. There are options available with higher capacities and other features that are worth considering. In looking at a battery solution not only might you want to consider the battery capacity, but the inclusion of a real time clock and the ability to query the power level of the batteries. The most basic solutions only provided power and a USB port for charging the battery.
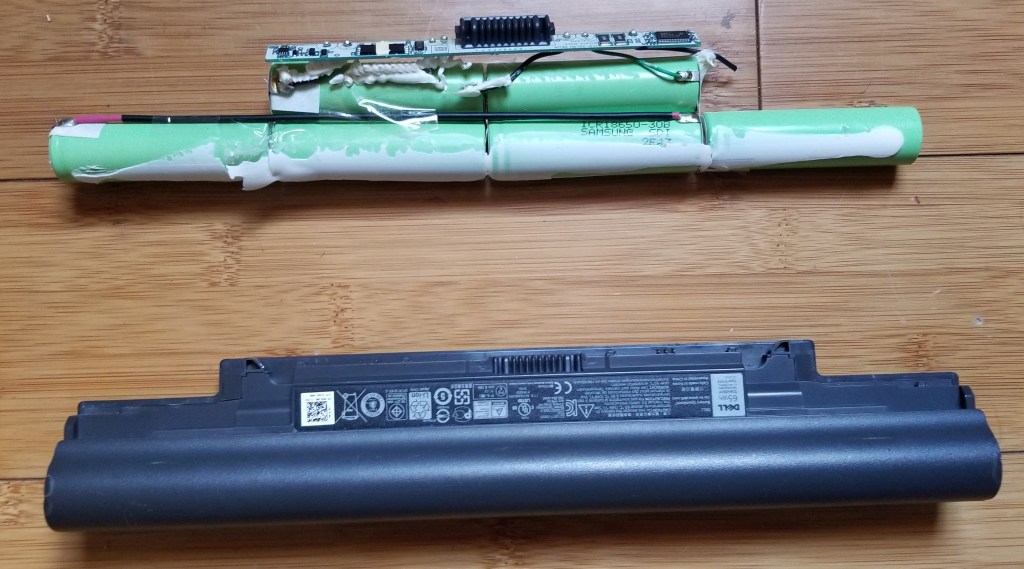
Many of the solutions use 18650 batteries. So named because they are 18mm in diameter and 65mm long. These cells look a lot like enlarged AA batteries. Even if you don’t recognize them, you’ve probably encountered these batteries before in laptop computers. Unlike the diminutive consumer batteries of similar shape, these cells rate at having a nominal voltage of 3.7 volts each. With two batteries together they are able to meet and exceed the 5-volt power requirement for the Pi. Power regulation circuits within the battery adapters ensure that the power delivered to the Pi doesn’t exceed 5-volts.
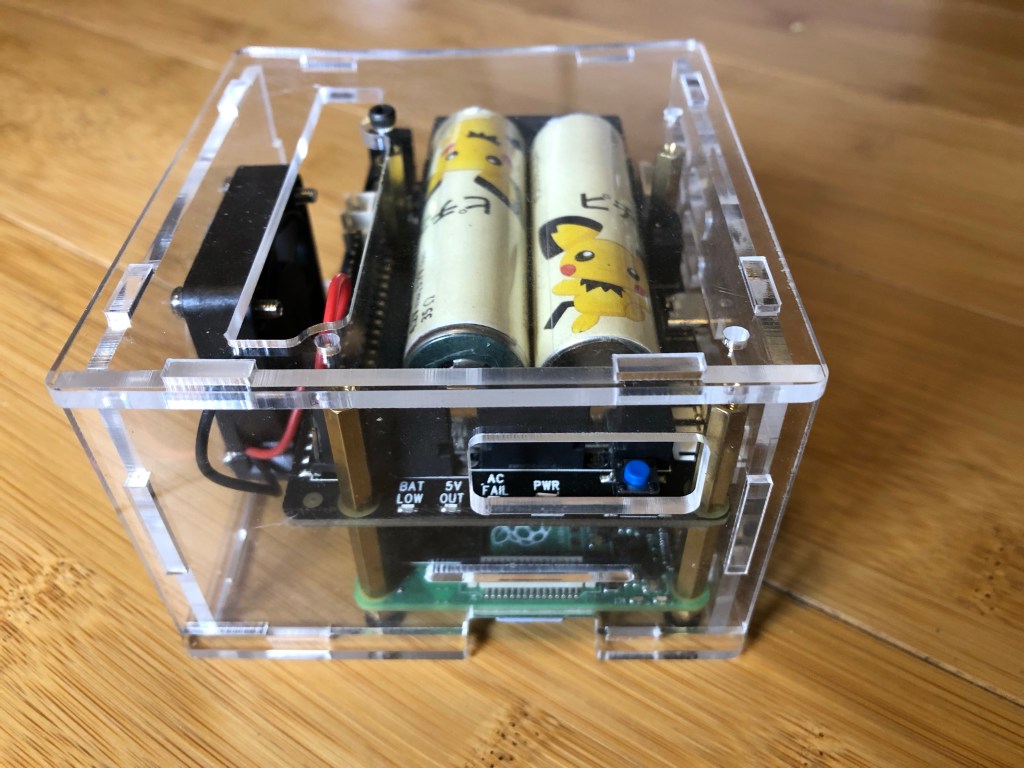
One of my favourite is the Geekworm X728. This unit contains a real-time clock and has scripts available for probing the state of the battery. The unit allows settings for having the pi automatically startup when power is applied and shutting down when when the battery level is low. For increasing the battery capacity, additional pairs of batteries can be added to the X728-A2 . The X728-A2 is made only for connecting to the X728 and add additional batteries. Though if you have the know-how, you can connect additional batteries in parallel to the ones in the X728. The board shows the power level through three LEDS on the side. There’s also a dedicated power-button on the board for powering up and shutting down.
In close second is the PiJuice. Right now the PiJuice is a lot more expensive than the X728 at almost twice the price. But it has an additional feature; the PiJuice allows scripts to be scheduled to run under specific power or time conditions. While the battery included with the PiJuice has lower capacity than a pair of 18650 batteries, there are use cases under which it could have longer usage before requiring a charge. On the PiJuice the Pi can be put to sleep, consuming much less power, and then wake up to perform some work and go back to sleep.

The last battery kit I want to mention is sold under various names. When I ordered one, it was branded under GeekPi. While that specific SKU is no longer available, the same unit is available branded from MakerHawk. It is often described as a UPS (Uninterruptible Power Supply). It is the least expensive of the battery kits, costing less than half the price of either of the other two. But it doesn’t have any way for the pi to detect the battery level or a way to have the Pi react to power events. It only provides power and nothing more. Like the X728, one could connect additional batteries in parallel to increase the available energy.

All of the battery solutions can also function as a UPS; if external power fails your Pi would be able to continue working. I’ve been able to keep the Pis running for hours at a time (days in the case of the Pi Juice on a wake/sleep schedule). I love the overall compactness of the the battery solutions made for the Pi. Some time in the future I plan to present one of the Pi based solutions that I made using the batteries.
 |  |  |  |  |
Posts may contain products with affiliate links. When you make purchases using these links, we receive a small commission at no extra cost to you. Thank you for your support.