
I stumbled upon a thread in the Raspberry Pi forums about enabling networking on the USB-C port on the Raspberry Pi 4. At first glance I thought this would be about networking with a USB-C to Ethernet dongle. It’s not. It is about configuring the Raspberry Pi to present as a network adapter when connected to another device with a USB-C cable. While this might sounds like a rather pedestrian capability at first it is something that has a lot of potential. I see using this when I want to do development on the Pi and I’m in an environment in which a network isn’t available (such as when I’m on a long plane trip) or when there’s a network but I just can’t connect the Pi to it (such as on a corporate network). Additionally since I expect my Android tablet to loose it’s ability to run Linux this provides a portable dev environment in which I can put the capabilities that I need.
The basic steps in what to do can be found on this thread posted by the user thagrol. The steps are simple. I am re-posting the steps here.
- Open /boot/config.txt and add the line
dtoverlay=dwc2 - Open /boot/cmdline.txt and append the following
modules-load=dwc2,g_ether - Reboot the Pi
After doing these steps when the Pi is connected to a computer the computer will see it as a networking device. If you list the network adapters on the Pi you will see a new network adapter with the name usb0.
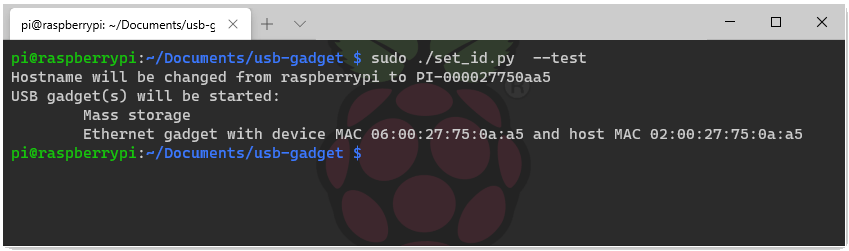
thagrol notes that the mac address generated for both sides of this virtual network adapter will be different every time that the service is started. This can cause issues when using DHCP. He provides a solution in the form of a script that will generate a set of MAC addresses based on a unique identifier in the Raspberry Pi. After cloning the GIT repository for the script run it as root.
sudo ./set_id.py --test
Once the addresses are generated they can be added to /boot/cmdline.txt. The addition will follow this format.
g_ether.host_addr=HOST_MAC_ADDRESS g_ether.dev_addr=DEVICE_MAC_ADDRESS
In my case the additional entry will be
g_ether.host_addr=02:00:27:75:0a:a5 g_ether.dev_addr=06:00:27:75:0a:a5
I’m going to set a static IP on my pi. To do this the file /etc/dhcpcd.conf must be edited. Scrolling to the bottom of the file commented out is a demonstration of how to set a static address.
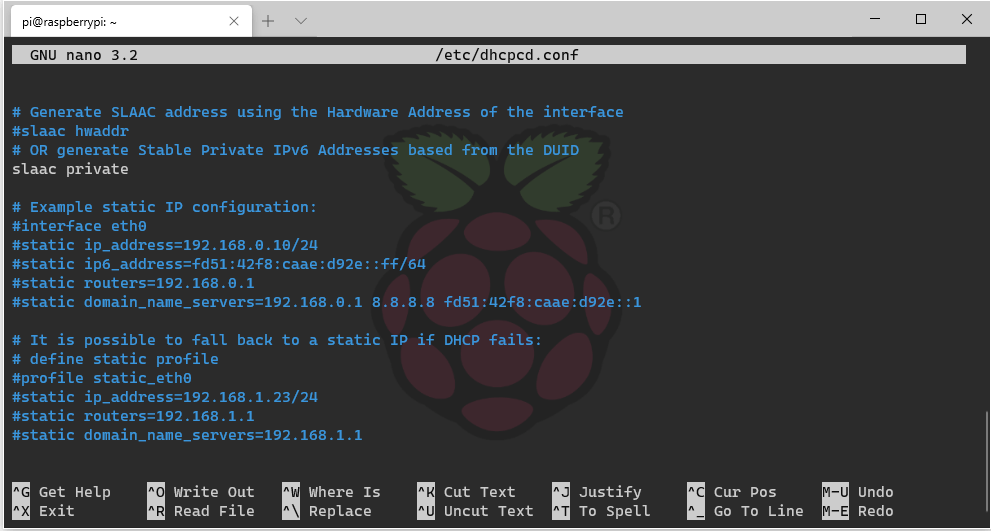
For the USB interface I’e added two lines to the bottom of this file
interface usb0
static ip_address=10.11.12.13/24
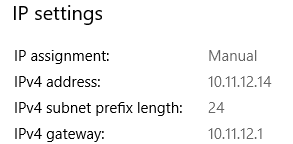
After rebooting the Pi now shows this address for the USB network interface. I’m connecting to my pi with a Windows machine. After physically connecting the device a static IP address was set on the Windows side.
To ensure that things are working I started off trying to ping the device and received positive responses.
C:\Users\joel>ping 10.11.12.14

Pinging 10.11.12.14 with 32 bytes of data:
Reply from 10.11.12.14: bytes=32 time<1ms TTL=128
Reply from 10.11.12.14: bytes=32 time<1ms TTL=128
Reply from 10.11.12.14: bytes=32 time<1ms TTL=128
Reply from 10.11.12.14: bytes=32 time<1ms TTL=128
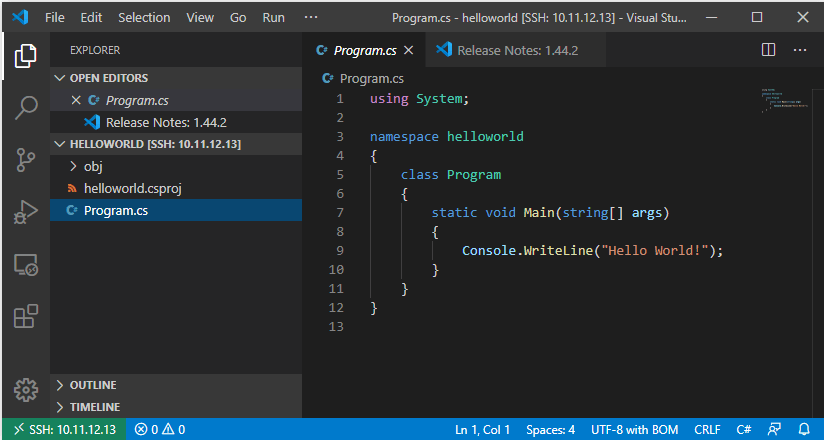
To try something a bit more functional I tried opening a folder on the Pi using Visual Studio Code running from my computer. Success!
In theory this could work with a phone or other mobile device. The restricting factor is whether someone’s mobile device allows changing settings on external network adapters. Many will allow communication over such adapters, but a much smaller set will allow you to change the settings.

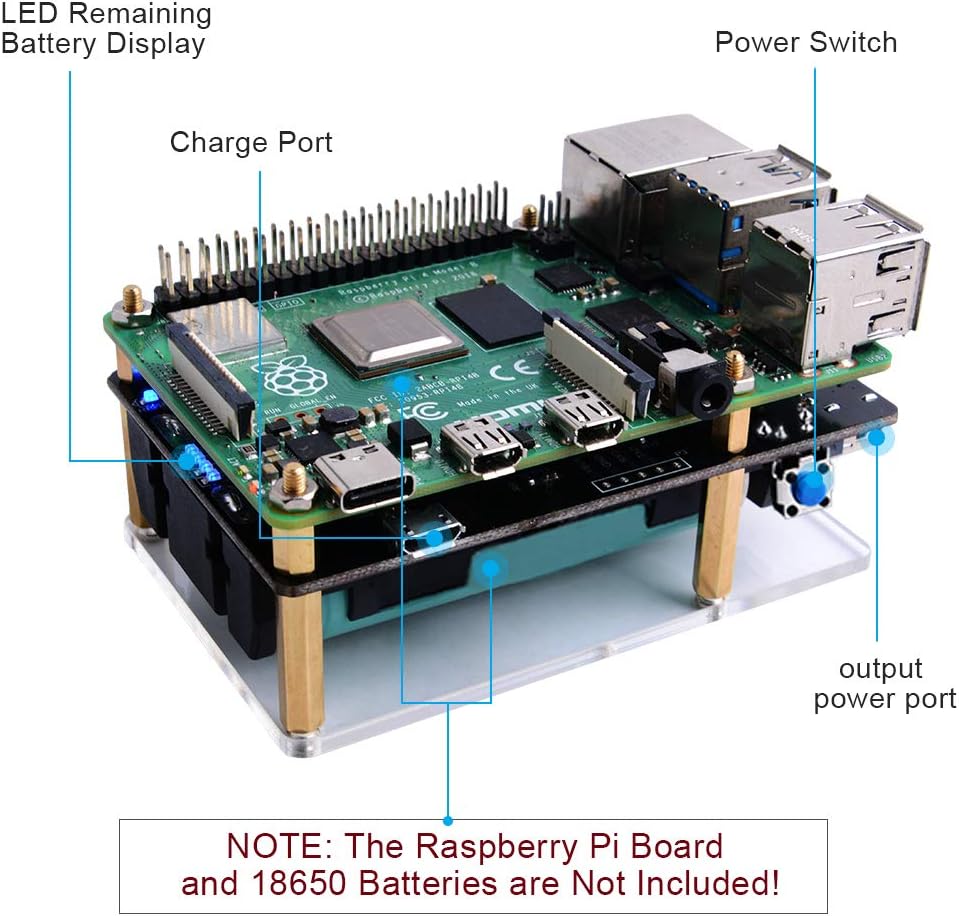
Something to note though, when using this solution on a mobile device there is a significant power drain, which makes sense; the mobile device’s battery is now working for two. There are a few ways to mitigate this but they break down to either batteries or external power. For batteries someone could add a battery to the Pi itself. There are a number of solutions that work well. I prefer PiJuice since it comes with some other options on invoking behaviours based power levels or time. Unfortunately at the time that I am writing this (during the 2020 shelter-at-home directive) this specific unit looks to be unavailable.
There are many other Pi batteries available. If you shop for one make sure that you purchase one that provides power through the headers or through pogo pens. Some provide power through the USB-C connector, which you need to keep available to act as a network connection. Also give consideration to the connector used to charge the unit you select. You might prefer micro-USB or USB-C. I would suggest not overclocking your Pi if it is running off of a battery. Some batteries might not be compatible with some types of cases. Ex: there is a Pi case that is essentially a heatsink that wraps the entire device. That would not work with with a power solution that uses pogo pens.


One thought on “USB Networking with the Pi”