
While I’ve generally used Visual Studio for C/C++ projects, I’m introducing Clang to my C-related build chain. Clang is a front end for C languages (C, C++, Objective-C, OpenCL, CUDA). There is some other code that compiles with Clang. Building the compiler yourself also allows you to get access to the lates-and-greatest features. If you are only seeking the pre-built binaries, you can find them here. The Visual Studio installer also has support for installing a build of Clang that is older. Before trying to build Clang yourself, consider if one of these other options is right for you.
I like for setup processes to be easily repeatable and automated. For building Clang, I’ve made a batch file to perform most of the steps for me. For building this C/C++ compiler, I need to use a C/C++ compiler. I used Visual Studio 2022 Community Edition for this. I have successfully completed a set of scripts for building Clang and have made them available on Github. Instead of putting them in their own repository, I’ve made a single repository for such scripts. Since Github doesn’t appear to have a way to organize repositories in folders, I’m trying to minimize the number of new ones I make.
You can find the script at https://github.com/j2inet/DevSetup/tree/main/Clang
What does “C Front End” mean?
Understanding what this means is probably aided by knowing what LLVM is. LLVM (low-level virtual machine) originally referred to a set of technologies that targeted a language-independent machine specification. The project has grown beyond targeting a virtual machine specification. It provides tools that could help someone create a compiler for their own programming language or a compiler for some specific machine architecture. LLVM-based compilers are available for a wide range of programming languages. I’m installing Clang because some other code library that I wish to use compiles with Clang.
Customize the Installation Settings
Before running the script, some customizations should be considered. The script assumes you wish to build and install Clang on your C: drive. I’ve set a default installation path for c:\shares\clang. Variables for this and other settings are set in the script named ClangDefineEnvironmentVariables.cmd. I’ve also included the URLs to a version of CMake, Ninja, and Python. You may already have these tools installed and in your path. If you don’t want the script to attempt to install these tools, you can comment out the variables InstallCmake and InstallPython. If these are not defined, the script will skip its attempt to install them.
@ECHO OFF
setlocal Enabledelayedexpansion
ECHO Defining environment variables
SET InstallPython=true
SET InstallCmake=false
SET InstallDrive=c:
SET InstallRoot=%InstallDrive%\shares\clang
SET TempFolder=%InstallRoot%\temp
SET MSBUILD_FULL_PATH=C:\Program Files\Microsoft Visual Studio\2022\Community\MSBuild\Current\Bin\amd64\MSBuild.exe
SET CMAKE_SOURCE_URL=https://github.com/Kitware/CMake/releases/download/v4.0.0-rc3/cmake-4.0.0-rc3-windows-x86_64.msi
SET CMAKE_FILE_NAME=cmake-4.0.0-rc3-windows-x86_64.msi
SET PYTHON_URL=https://www.python.org/ftp/python/3.13.2/python-3.13.2-amd64.exe
Run Part1.cmd
Once these are defined, there are two scripts to run. Run the script titled Part1.cmd. The body of this script only has a few of lines.
@ECHO OFF
Copy CLangDefineEnvironmentVariables.cmd + 0-InstallDependencies.cmd Combined.bat
call Combined.bat
del Combined.bat
I combine the environment variables script with the script to install dependencies. I then run that resultant script. If I were to execute these scripts separately, I wouldn’t get the same result. The environment variables in the script CLangDefineEnvironmentVariables.cmd get cleared when the script is finished running. They don’t carry over to the next script. This script will require user interaction. It will download and invoke the installers for Cmake and Python. You’ll need to be at the computer to approve the installation. It will also invoke the Visual Studio installer and automatically select Visual Studio components to add. You will need to approve those, too. Since the script cannot know when these installers have completed their job, it will wait for you to press a key at points before continuing. Once these installations are complete, you’ve completed most of the steps that require user interaction. Close the terminal window and open a new one. This new terminal window will have a different path environment that includes CMake and Python.
Run Part2.cmd
This next script could take a few hours to run. Once invoked, your attention isn’t needed any further. This will be a great time to go out to lunch or go to bed. If all goes well, when you return after this script runs, you will have a working Clang installation.
To run Part2.cmd, open a new terminal window to ensure that the environment variables created by the installations are applicable. Like Part1.cmd, this script combines two scripts and then runs the results. The file that contains the actions performed is 1-BuildClang.cmd.
@echo off
call CLangDefineEnvironmentVariables.cmd
mkdir %InstallRoot%
cd %InstallRoot%
%InstallDrive%
git clone https://github.com/llvm/llvm-project.git
cd llvm-project
git config core.autocrlf false
mkdir build
pushd build
cmake -DLLVM_ENABLE_PROJECTS=clang -G "Visual Studio 17 2022" -A x64 -Thost=x64 ..\llvm
"%MSBUILD_FULL_PATH%" ALL_BUILD.vcxproj /p:Configuration=Release
"%MSBUILD_FULL_PATH%" tools\clang\tools\driver\clang.vcxproj /p:Configuration=Release
mkdir %InstallRoot%\bin
robocopy \build\Debug\bin %InstallRoot%\bin /MIR
"%MSBUILD_FULL_PATH%" clang.vcxproj
Environment Variables
After the build has been run, the executables are there, but they are not added to your path. If you want to add it to your path, run the script CLangDefineEnvironmentVariables.cmd. It will show a variety of folder paths. The path of interest to you is InstallRoot. Within that folder is a subfolder named bin into which all of the executables have been copied. Add that to your path. You will also want to add the linker from Microsoft Visual Studio to your path. The exact location that this is at could vary. But the specific location for your installation can be found in a file that was created by CLangDefineEnvironmentVariables.cmd.
After both of these have been added, if you would like to test out the setup, I’ve got a HelloWorld.cpp with the scripts. In the subfolder, HelloWorld there is a script named build.cmd. Running that will let you know if you’ve successfully set things up.
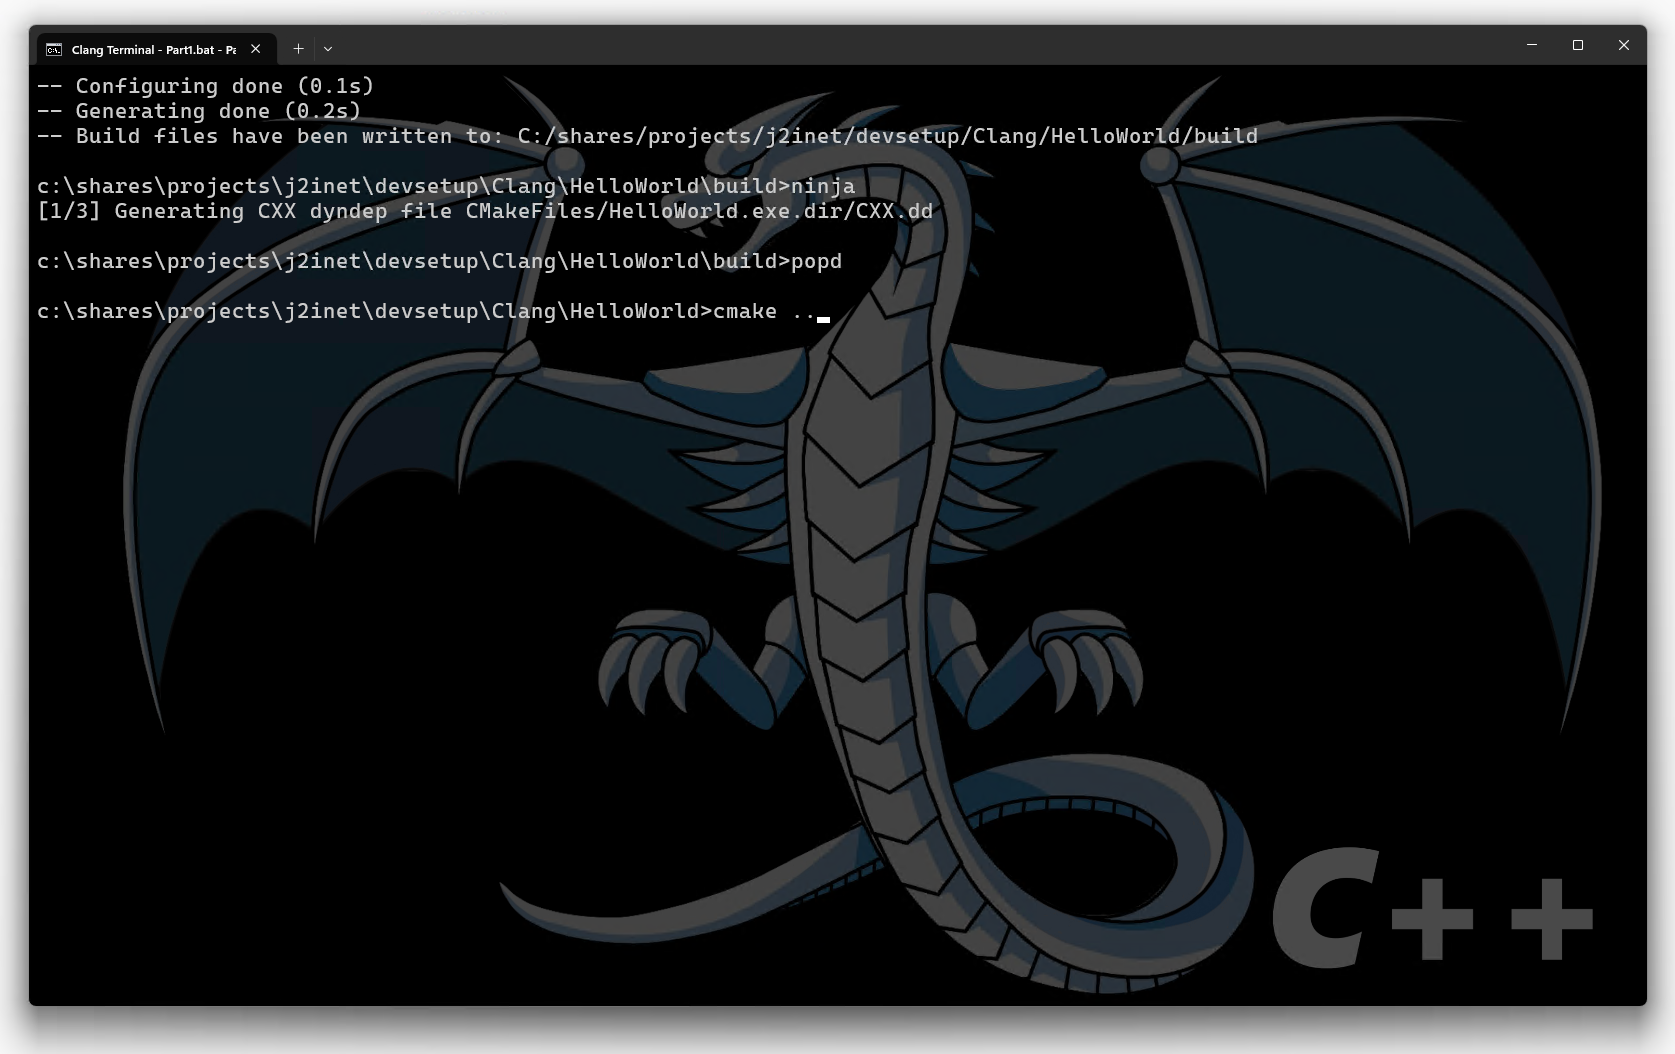
Terminal Background
In Windows Terminal, I customize the background so that I can quickly recognize which terminal I’m using. For the terminal that I’m using in Clang, I’ve used an LLVM logo. The image that is included in the repository for this script is the same image. Those who customize their Windows Terminals may be interested in using it.
Posts may contain products with affiliate links. When you make purchases using these links, we receive a small commission at no extra cost to you. Thank you for your support.
Mastodon: @j2inet@masto.ai
Instagram: @j2inet
Facebook: @j2inet
YouTube: @j2inet
Telegram: j2inet
Bluesky: @j2i.net


One thought on “Building Clang on Window”