Representations of time can differ significantly between programming languages. I recently mixed some .Net code and JavaScript code and had to make some conversions between time representations. This code is generally useful and is being placed here for those who find themselves looking for a quick conversion. Let’s jump into the code.
const long DOTNET_JAVASCRIPT_EPOCH_DIFFERENCE = 621_355_968_000_000_000;
static long DotNetDateToJavaScriptTicks(DateTime d)
{
    return (d.Ticks - DOTNET_JAVASCRIPT_EPOCH_DIFFERENCE) / 10_000;
}

static DateTime JavaScriptTicksToDotNetDate(long ticks)
{
    long dticks = ticks * 10_000 + DOTNET_JAVASCRIPT_EPOCH_DIFFERENCE;
    var retVal = new DateTime(dticks );
    return retVal;
}
To test that it was working, I converted from a .Net time to JavaScript ticks and then back to .Net time If all went well, then I should end up with the same time that I started with.
var originalDotNetTime = DateTime.Now.Date.AddHours(15).AddHours(4).AddMinutes(0);
var javaScriptTicks = DotNetDateToJavaScriptTicks(originalDotNetTime) ;
var convertedDotNetTime = JavaScriptTicksToDotNetDate(javaScriptTicks);

if(originalDotNetTime == convertedDotNetTime)
{
    Console.WriteLine("Time Conversion Successful!");
}
else
{
    Console.WriteLine("The conversion was unsuccessful");
}
I ran the code, and it worked! Honestly, it didn’t work the first time because I left a 0 off of 10,000. Adding the underscores (_) to the numbers makes discovering such mistakes easier. Were you to use this code in AWS, note that some values in AWS, such as a TTL field on a DynamoDB table, expect values to be in seconds, not milliseconds. The JavaScript ticks value would have to be divided by 1000 when converted from a .Net time or multiplied by 1000 when being converted back to a .Net time.
Posts may contain products with affiliate links. When you make purchases using these links, we receive a small commission at no extra cost to you. Thank you for your support.
The .NET framework acts as an intermediate execution environment; with the right runtime a .Net executable that was made on one platform can run on another. With .NET Core the focus on the APIs that are supported on a variety of platforms allows it to be supported on even more platforms. Windows, Linux, and macOS are operating systems on which the .NET Core framework will run.
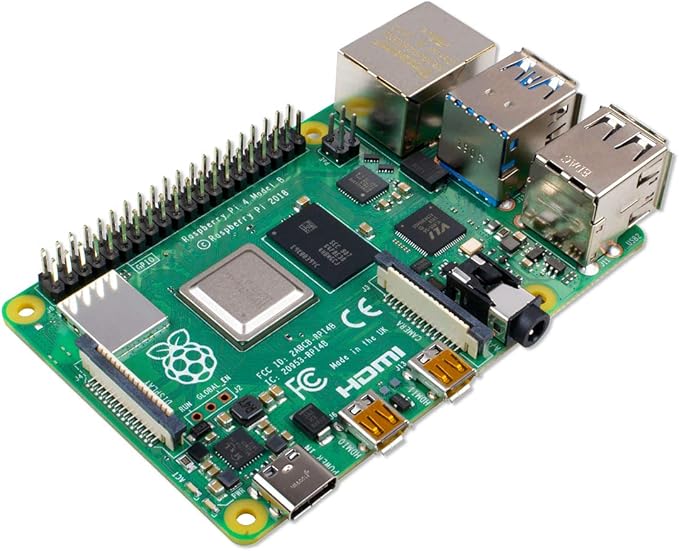
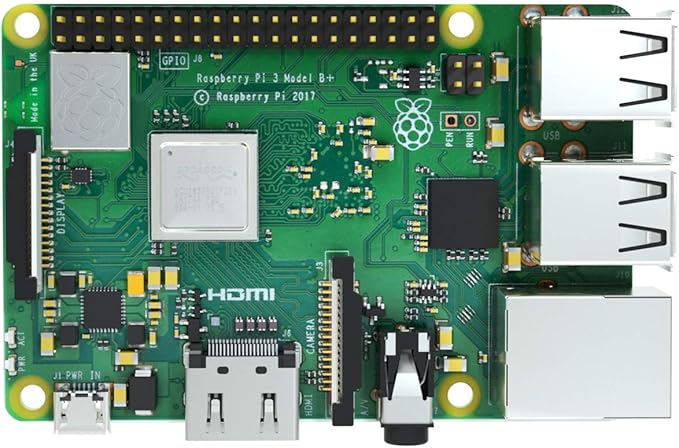
The .NET Core Framework also runs on ARM systems. It can be install on the Raspberry Pi. I’ve successfully installed the .NET CORE framework on the Raspberry Pi 3 and 4. Unfortunately it isn’t supported on the Raspberry Pi Zero; ARM7 is the minimum ARM version supported. The Pi Zero uses an ARM6 processor. Provided you have a supported system you can install the framework in a moderate amount of time. The instructions I use here assume that the Pi is accessed over SSH. To begin you must find the URL to the version of the framework that works on your device.
Visit https://dotnet.microsoft.com to find the downloads. The current version of the .NET Core framework is 3.1. The 3.1 downloads can be found here. For running and compiling applications the installation to use is for the .NET Core SDK. (I’ll visit the ASP.NET Core framework in the future). For the ARM processors there is a 32-bit and 64-bit download. If you are running Raspbian use the 32-bit version even if the target is the 64-bit Raspberry Pi; Raspbian is a 32-bit operating system. Since there is no 64-bit version yet the 32-bit .NET Core SDK installation is necessary. Clicking on the link will take you to a page where it will automatically download. Since I’m doing the installation over SSH I cancel the download and grab the direct download link. Once you have the link SSH into the Raspberry Pi.
You’ll need to download the framework. Using the wget command followed by the URL will result in the file being saved to storage.
After the download is completed it must be unpacked. The file location that I’ve chosen is based on the default location that some .NET Core related tools will look by default for the .NET Core framework. I am using the path /usr/share/dotnet. Create this folder and unpack the framework to this location.
sudo mkdir /usr/share/dotnet
sudo tar zxf dotnet-sdk-3.1.201-linux-arm.tar.gz -C /usr/share/dotnet
As a quick check to make sure it works go into the folder and try to run the executable named “dotnet.”
cd /usr/share/dotnet
./dotnet
The utility should print some usage information if the installation was successful. The folder should also be added to the PATH environment variable so that the utility is available regardless of the current folder. Another environment variable named DOTNET_ROOT will also be created to let other utilities know where the framework installation can be found. Open ~/.profiles for editing.
sudo nano ~/.profile
Scroll to the bottom of the file and add the following two lines.
Save the file and reboot. SSH back into the Pi and try running the command dotnet. You should get a response even if you are not in the /usr/share/dotnet folder.
With the framework installed new projects can be created and compiled on the Pi. To test the installation try making and compiling a “Hellow World!” program. Make a new folder in your home directory for the project.
mkdir ~/helloworld
cd ~/helloworld
Create a new console project with the dotnet command.
dotnet new console
A few new elements are added to the folder. If you view the file Program.cs the code has default to a hello world program. Compile the program with the dotnet command
dotnet build
After a few moments the compilation completes. The compiled file will be in ~/helloworld/Debug/netcoreapp31. A file name helloworld is in this folder. Type it’s name to see it run.
My interest in the .NET Core framework is on using the Pi as a low powered ASP.NET Web server. In the next post about the .NET Core Framework I’ll setup ASP.NET Core and will host a simple website.
To see my other post related to the Raspberry Pi click here.