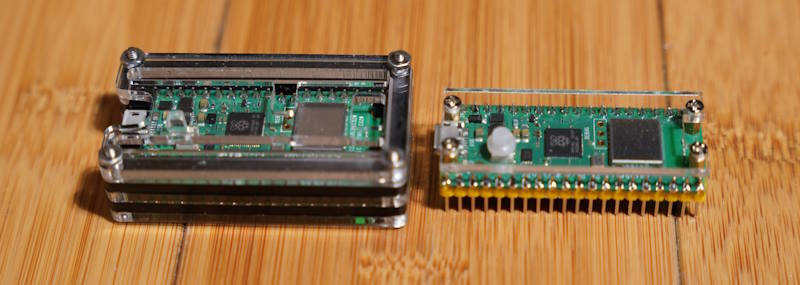
I picked up a few Pi Pico cases. Both provide different protection for the units. I also find them to be aesthetically pleasing additions to have on the board. They both protect the top and underside of the board. The most significant difference is whether they also protect the pins that may be soldered to the board.
The Minimalistic Case
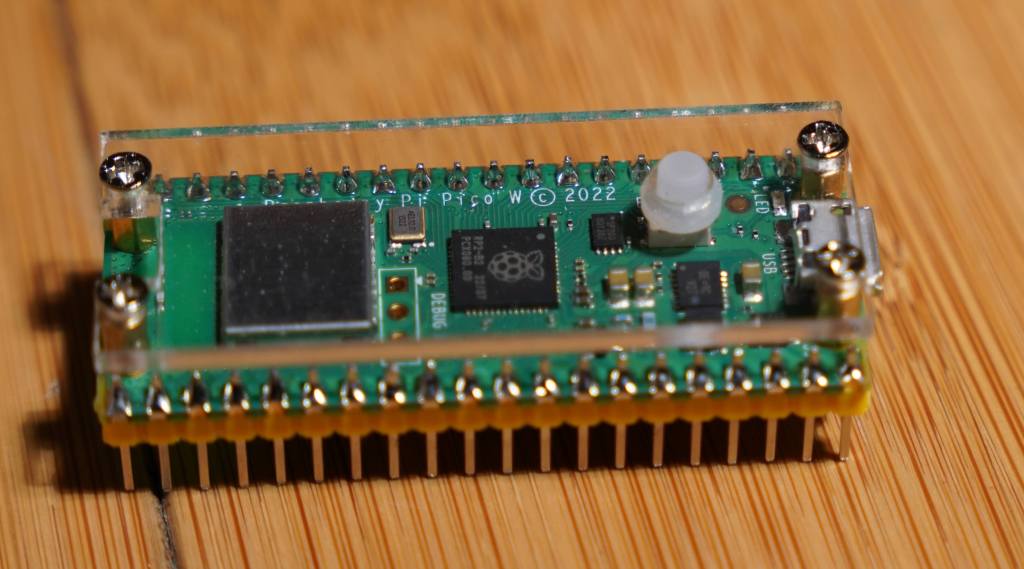
One of the cases is minimalistic. It sandwiches two pieces of acrylic around the board. There are spaces so that the acrylic on the top side isn’t resting on the board and has enough space to hold an extension so that the BOOTSEL button is still accessible. But this case was clearly made for the Picos that don’t have the WiFi chip. The debug header pins are in different places on the Picos with Wi-Fi and without. If you don’t use the debug header pins, this won’t be an issue. The lower acrylic is just wide enough to cover the bottom of the board between the header pins. This case protects the board itself, but not the pins that are connected to it. I use this on a Pico that is connected to a breakout board. That it doesn’t cover the pins gives me enough clearance to easily plug it in.
C4Labs Case
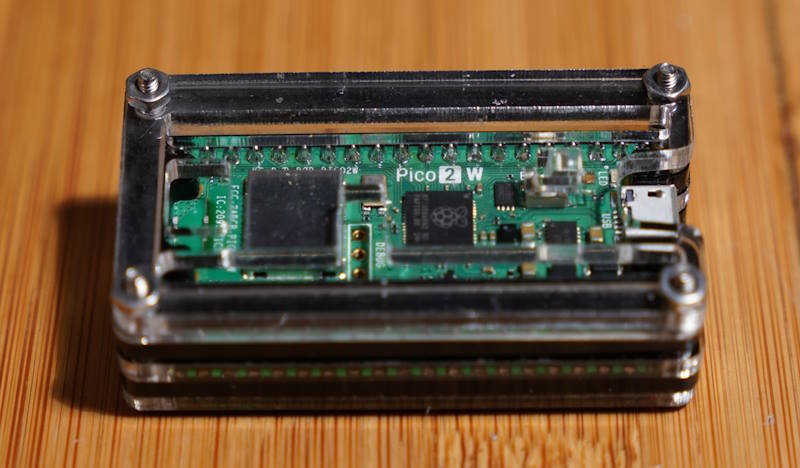
The other case, from C4Labs, is also made of acrylic pieces. Though it is many more pieces sandwiched together to completely envelope the Pico circuit board, the pins, and the debug header. This case was made to universally fit the Picos with and without Wi-Fi. There are cutouts for either position of the debug header. Since the pins are completely enveloped, there are restrictions on how one might connect something to it. Jumper wires will connect to the pins without trouble.
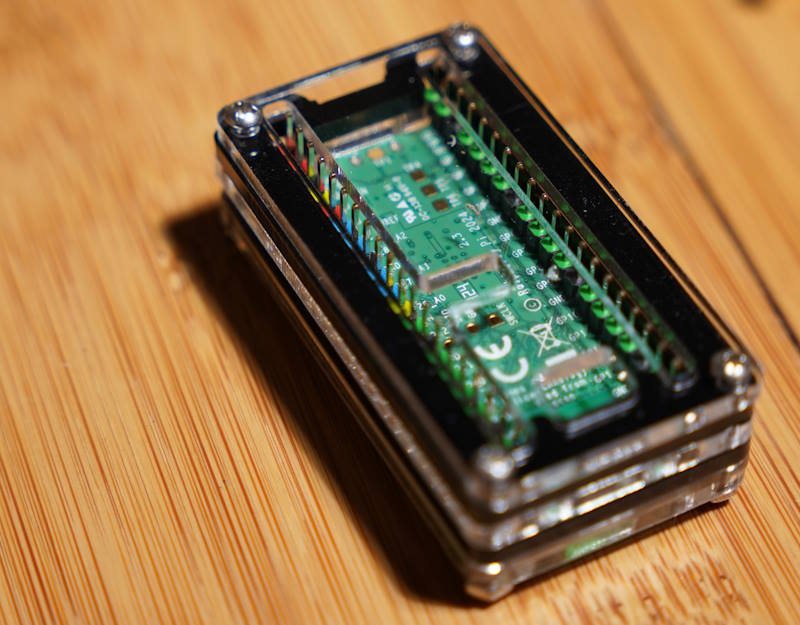
I cannot use this case with the breakout board that I have though. Parts of the case conflict with other connectors that I have on my breakout board. However, the area in the case in which the pins would extend could potentially be used to hold a small amount of other electronics. I’m working on an IR control project, and I might place an IR Emitter and detector within this space.
These cases are available on Amazon. The minimalistic case is available by itself or with a Pi Pico. You can purchase them through the following links. Note that these are affiliate links. I make a small commission if you purchase through these links.
Posts may contain products with affiliate links. When you make purchases using these links, we receive a small commission at no extra cost to you. Thank you for your support.
Mastodon: @j2inet@masto.ai
Instagram: @j2inet
Facebook: @j2inet
YouTube: @j2inet
Telegram: j2inet
Bluesky: @j2i.net