
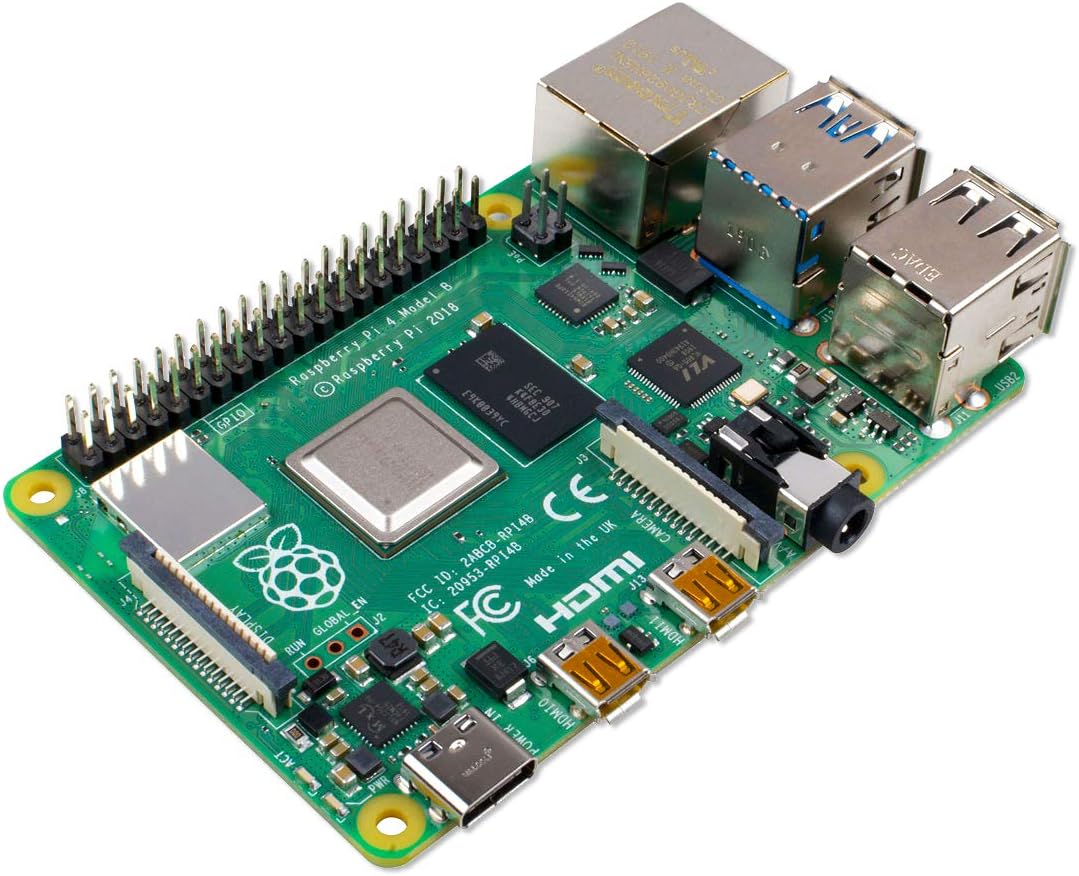
I’ve previously talked about video capture on the Raspberry Pi using an HDMI device that interfaced with the camera connector. Today I’m looking at using USB capture devices. USB capture devices often present as web cams. The usual software and techniques that you may use with a webcam should generally work here.
The two devices that I have are the Elgato CamLink 4K and the Atmos Connect. Despite the name, the CamLink 4K does not presently work in 4K mode for me on the Pi. (I’m not sure that the pi would be able to handle that even if it did). I am using a Raspberry Pi 4. I got better results with the Atmos Connect; it is able to send the Pi pre-compressed video so that the pi didn’t have to compress it.
Hardware setup is simple. I connected the USB capture device to the pi and connected an HDMI source to the capture device. If you want to be able to monitor the video while it is captured you will also need an HDMI splitter; the Pi does not show video while it is being captured. Most of what needs to be done will be in the Raspberry Pi terminal.
If you want to ensure that your capture device was detected you can use the lsusb command. This command lists all the hardware detected on the USB port. If you can’t recognize a device there, using it, disconnecting a device, using it again, and noting the difference will let you know identify a line in the output to an item of hardware. Trying first with the Elgato CamLink, my device was easily identified. There was an item labeled as Elgato Systems GmbH.
I’ve not been able to make the devices work with raspistill or raspivid, but it works with ffmpeg and video for linux (v4l-utils). To install Video 4 Linux, use the following command.
sudo apt install v4l-utils
Once Video 4 Linux is installed, you can list the devices that it detects and the device file names.
v4l2-ctl --list-devices
In addition to hardware encoders, I get the following in my output.
Cam Link 4K: Cam Link 4K (usb-0000:01:00.0-2):
          /dev/video0
          /dev/video1
The device name of interest is the first, /dev/video0. Using that file name, we can check what resolutions that it supports with ffmpeg.
$ ffmpeg -f v4l2 -list_formats all -i /dev/video0

[video4linux2,v4l2 @ 0xcca1c0] Raw     :    yuyv422:      YUYV 4:2:2 : 1920x1080
[video4linux2,v4l2 @ 0xcca1c0] Raw     :       nv12:      YUYV 4:2:2 : 1920x1080
[video4linux2,v4l2 @ 0xcca1c0] Raw     :   yuyv420p:      YUYV 4:2:0 : 1920x1080
For this device, the only resolution supported in 1920×1080. I have three options for my format, yuyv422m nv12, and yuyv420p. Before we start recording, let’s view the input. With the following command, we can have ffmpeg read from our video capture device and display the HDMI video stream on the screen.
ffplay -f v4l2 -input_format nv12 -video_size 1920x1080 -framerate 30 -i /dev/video0
In your case, the format (nv12), resolution, and hardware file name may need to be different. If all goes well after running that command, you will see the video stream. Let’s have the video dump to a file now.
ffmpeg -f v4l2 -thread_queue_size 1024 -input_format nv12 -video_size 1920x1080 -framerate 30 -i /dev/video0 -f pulse -thread_queue_size 1024 -i default -codec copy output.avi
This command will send the recorded data to an AVI file. AVI is one of the envelope formats in which audio, video, and other data can be packaged together. You will probably want to convert this to a more portable format. We can also use ffmpeg to convert the output file from AVI to MP4. I’m going to use H264 for video encoding and AAC for audio encoding.
ffmpeg -i output.avi -vcodec libx264 -acodec aac -b:v 2000k -pix_fmt yuv420p output.mp4
Those of you that follow me on Instagram, you may have seen a picture of the equipment that I use to record the video walkthrough of how to do this. A list of those items used is below. Note that these are Amazon Affiliate links.


Mini
Mini Pro
Mini Pro Iso

Thanks for the good article. A small thing to mention: a Raspberry 3B is not able to record or show FullHD properly. Using a smaller resolution is working fine.
In the case where you are recording from one Pi to another, you needn’t have a splitter, right, because the output can be duplicated on both HDMI outputs?
That was some time ago. I don’t believe that I used a splitter and instead relied on the PI to display whatever it was recording. That said, when I do use a splitter I use something like this ( https://www.amazon.com/dp/B0DHYYKL8J?ref_=ppx_hzsearch_conn_dt_b_fed_asin_title_5 ). That is a bit pricy, but it replicates a display’s EID (which is needed for some scenarios) and since it is powered off of USB-C I can usually connect it to a USB port on the display or one of the output machines. At less than a quarter of the price though I also use this unit ( https://www.amazon.com/dp/B005HXFARS?ref_=ppx_hzsearch_conn_dt_b_fed_asin_title_16 ). Right now it is only 14 USD.